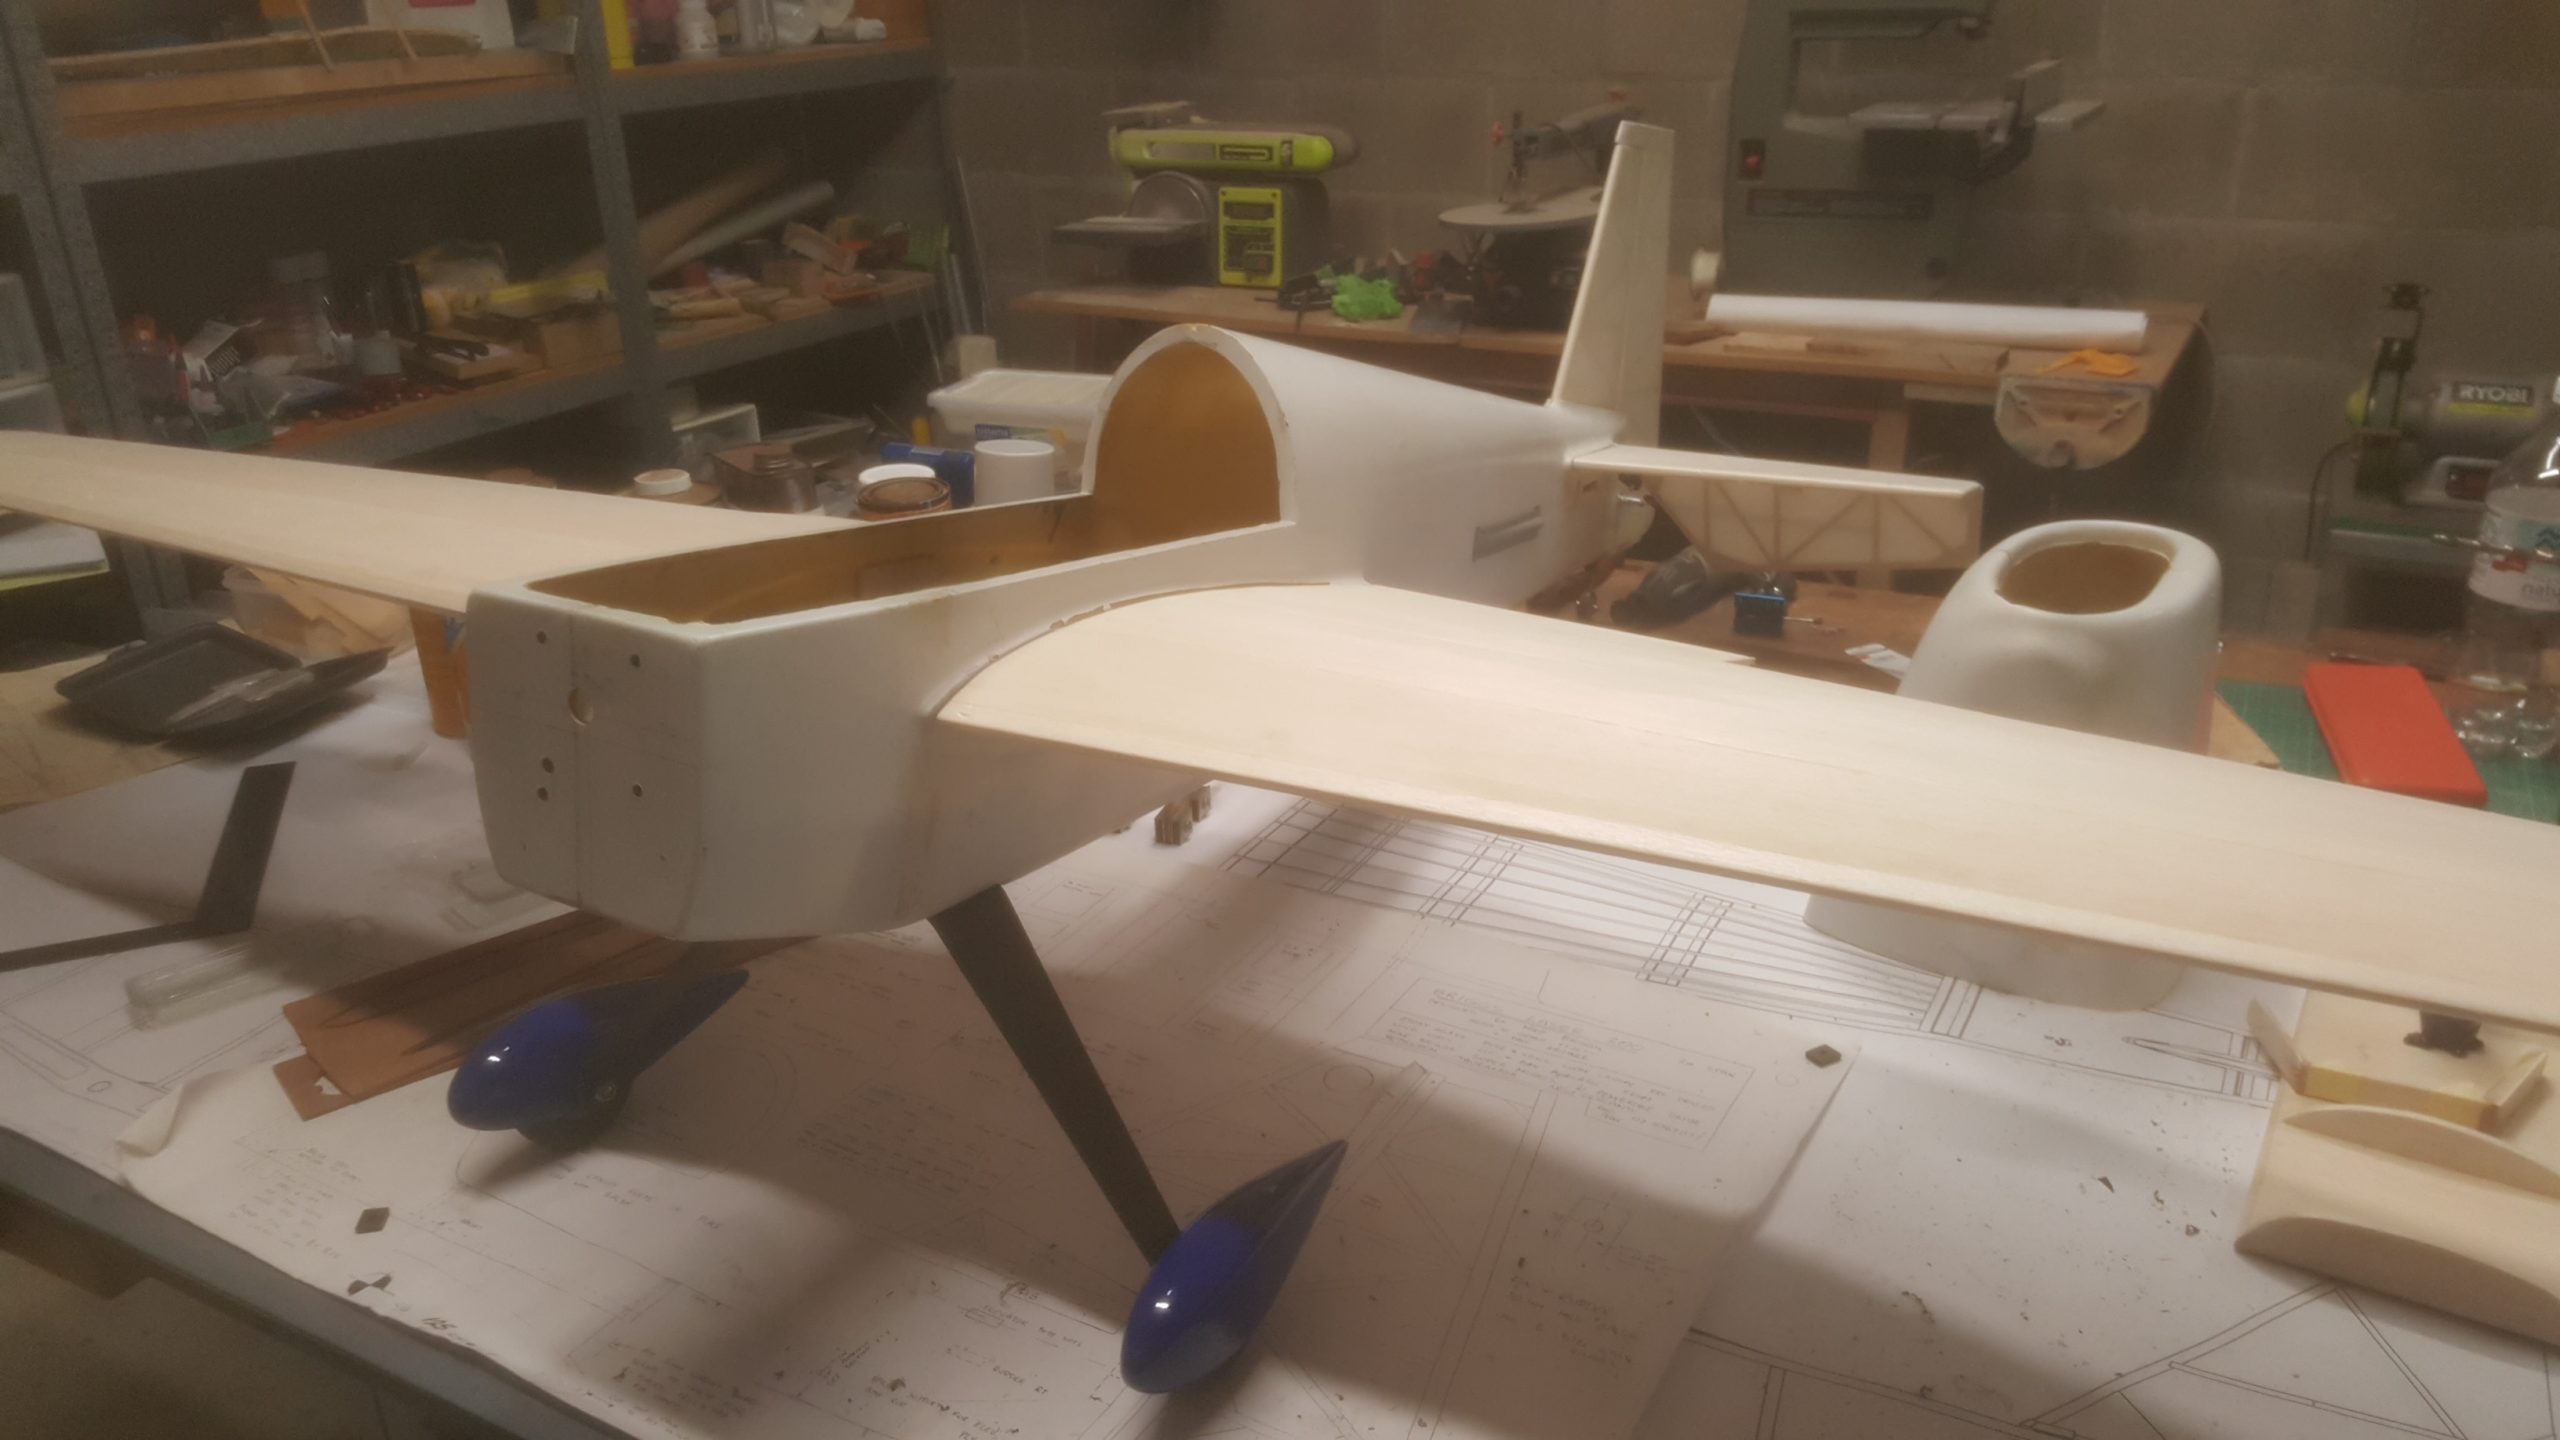
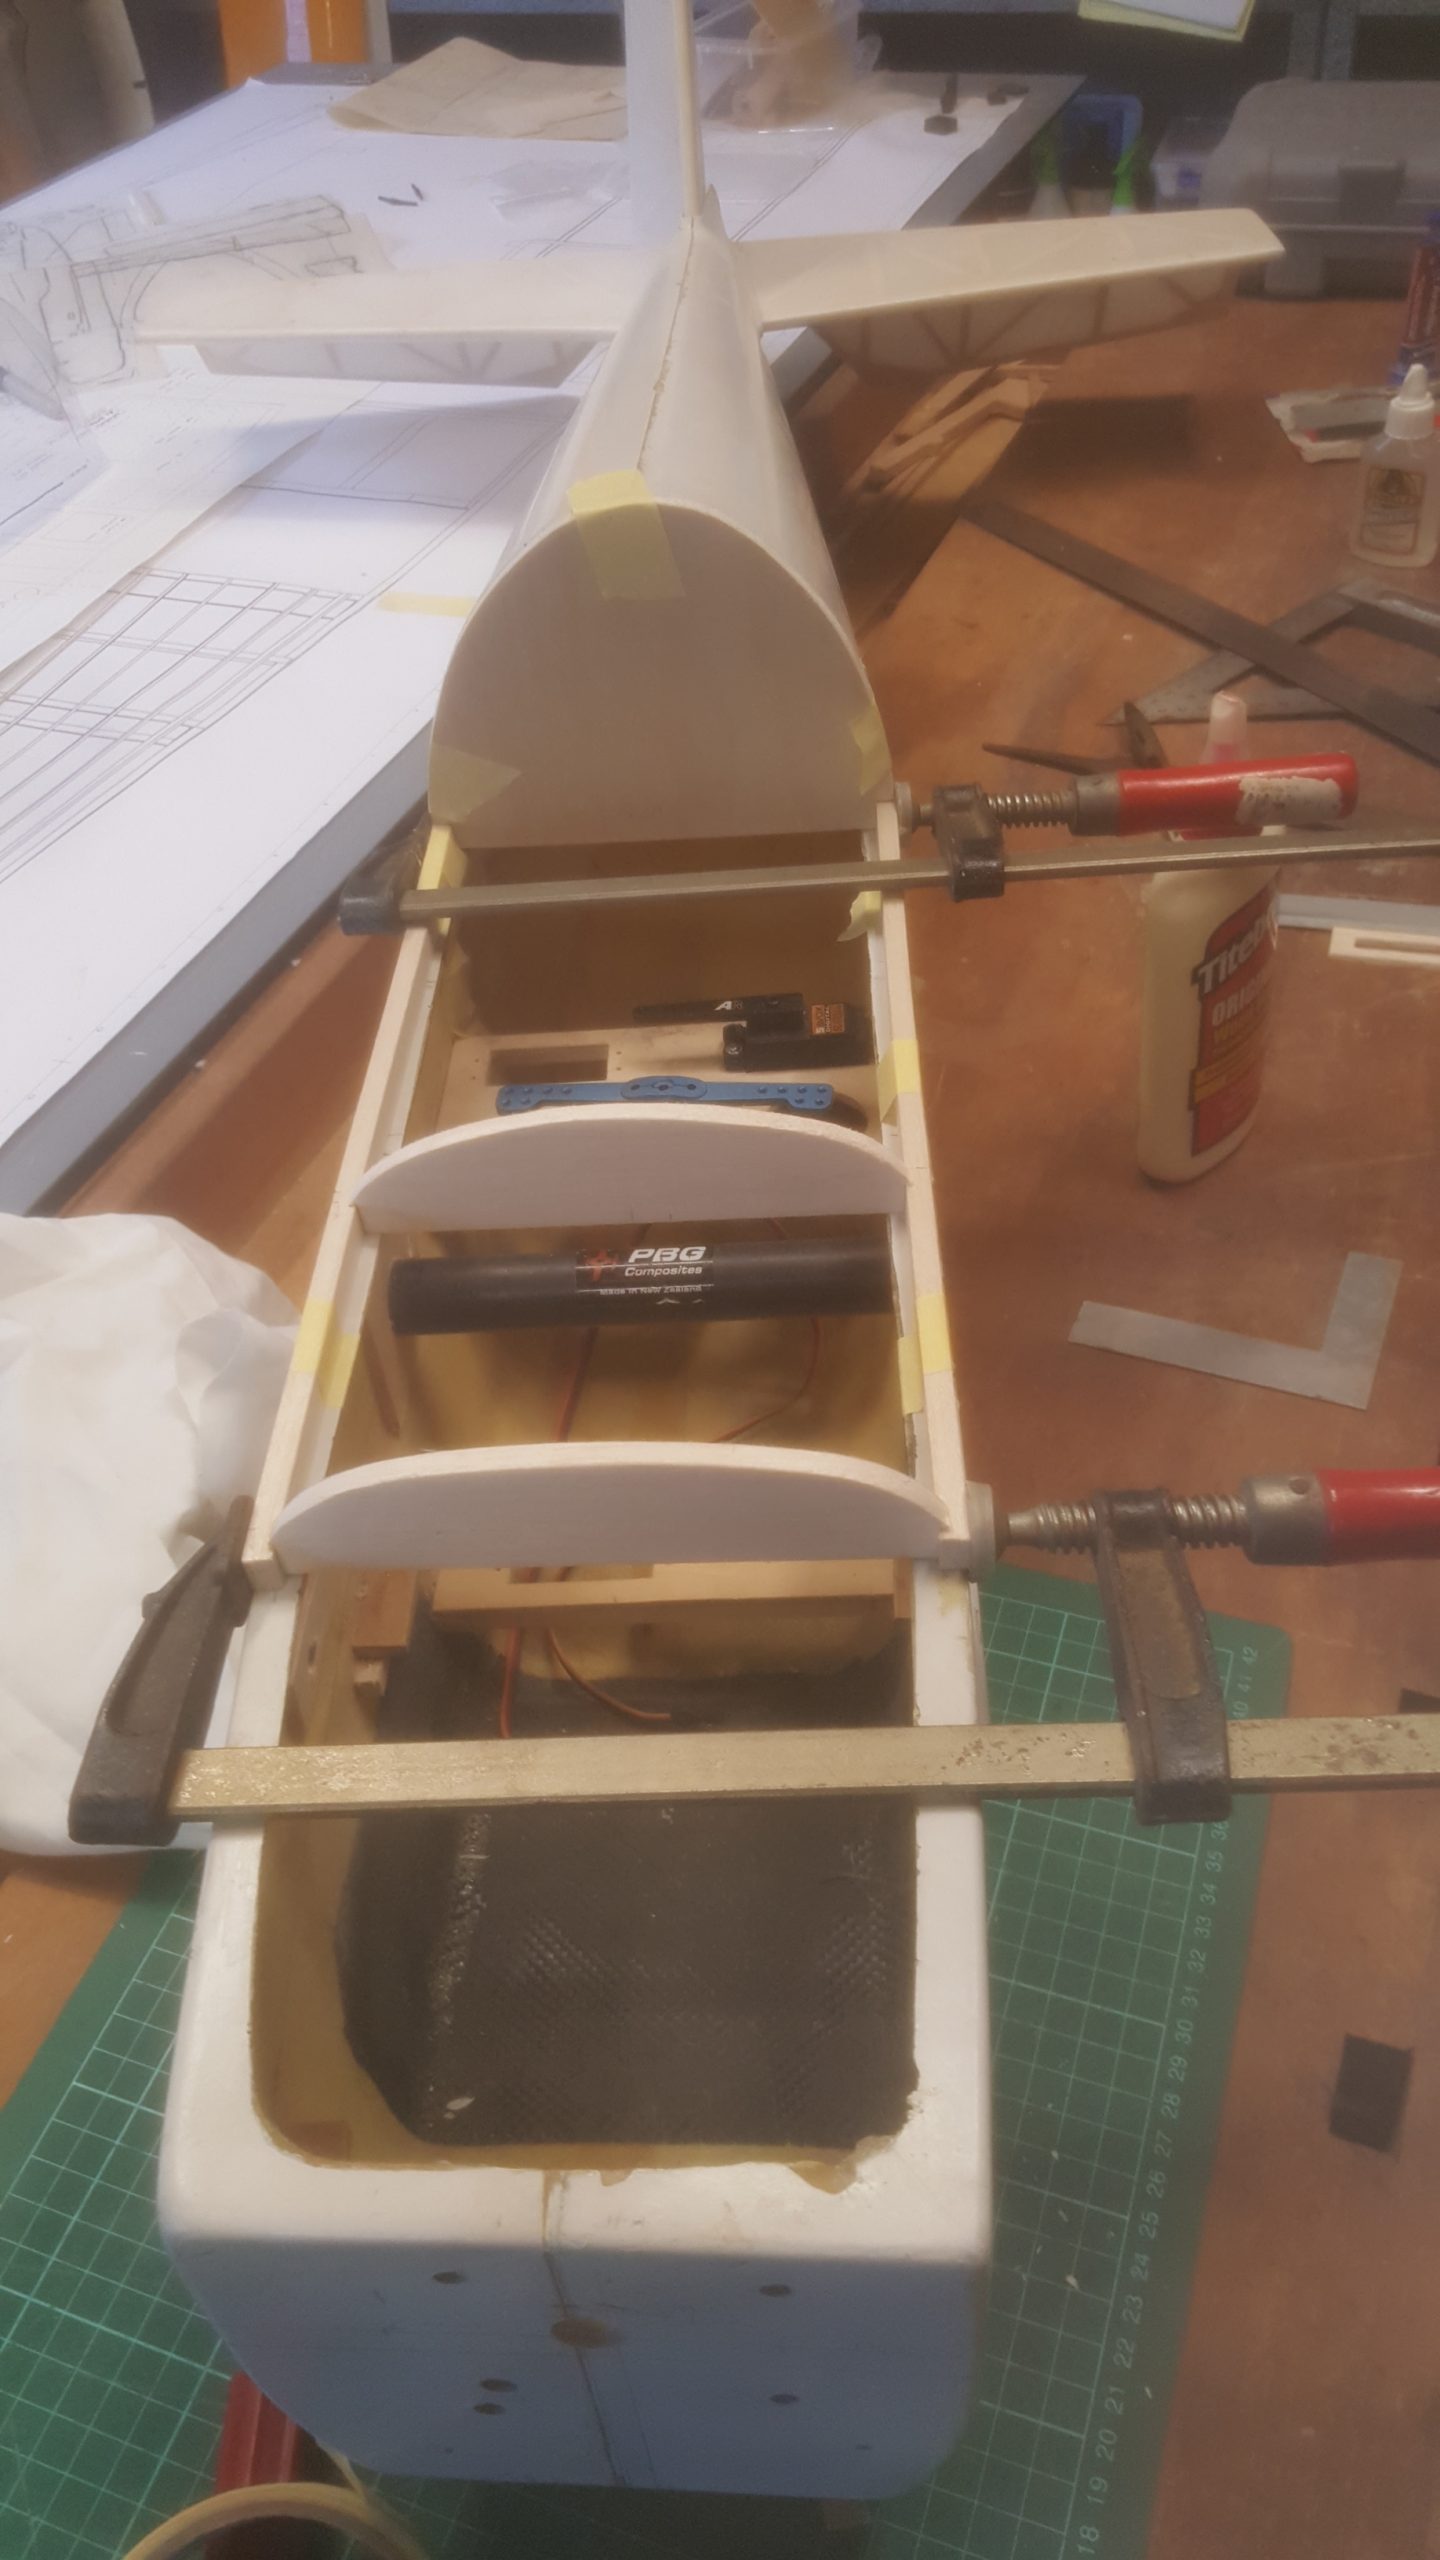
The completed wings can now be test-fitted to the fuselage. The wing tube is cut to size so that both wings can slide on fully.
With the wings now aligned, the carbon fibre undercarriage legs could be attached evenly. They had to be cut to shape, and one side cut down, as there is a small levelling fault in the fuselage moulding at the mounting point.
The legs were then drilled out for axles and 6mm nylon mounting bolts. A quarter inch ply plate was glued into the fuselage to add strength to the mounting, and then there was lots of fiddling about to attached the wheels and wheel pants so that they don’t fall off mid flight.
The tailwheel assembly was also fitted.
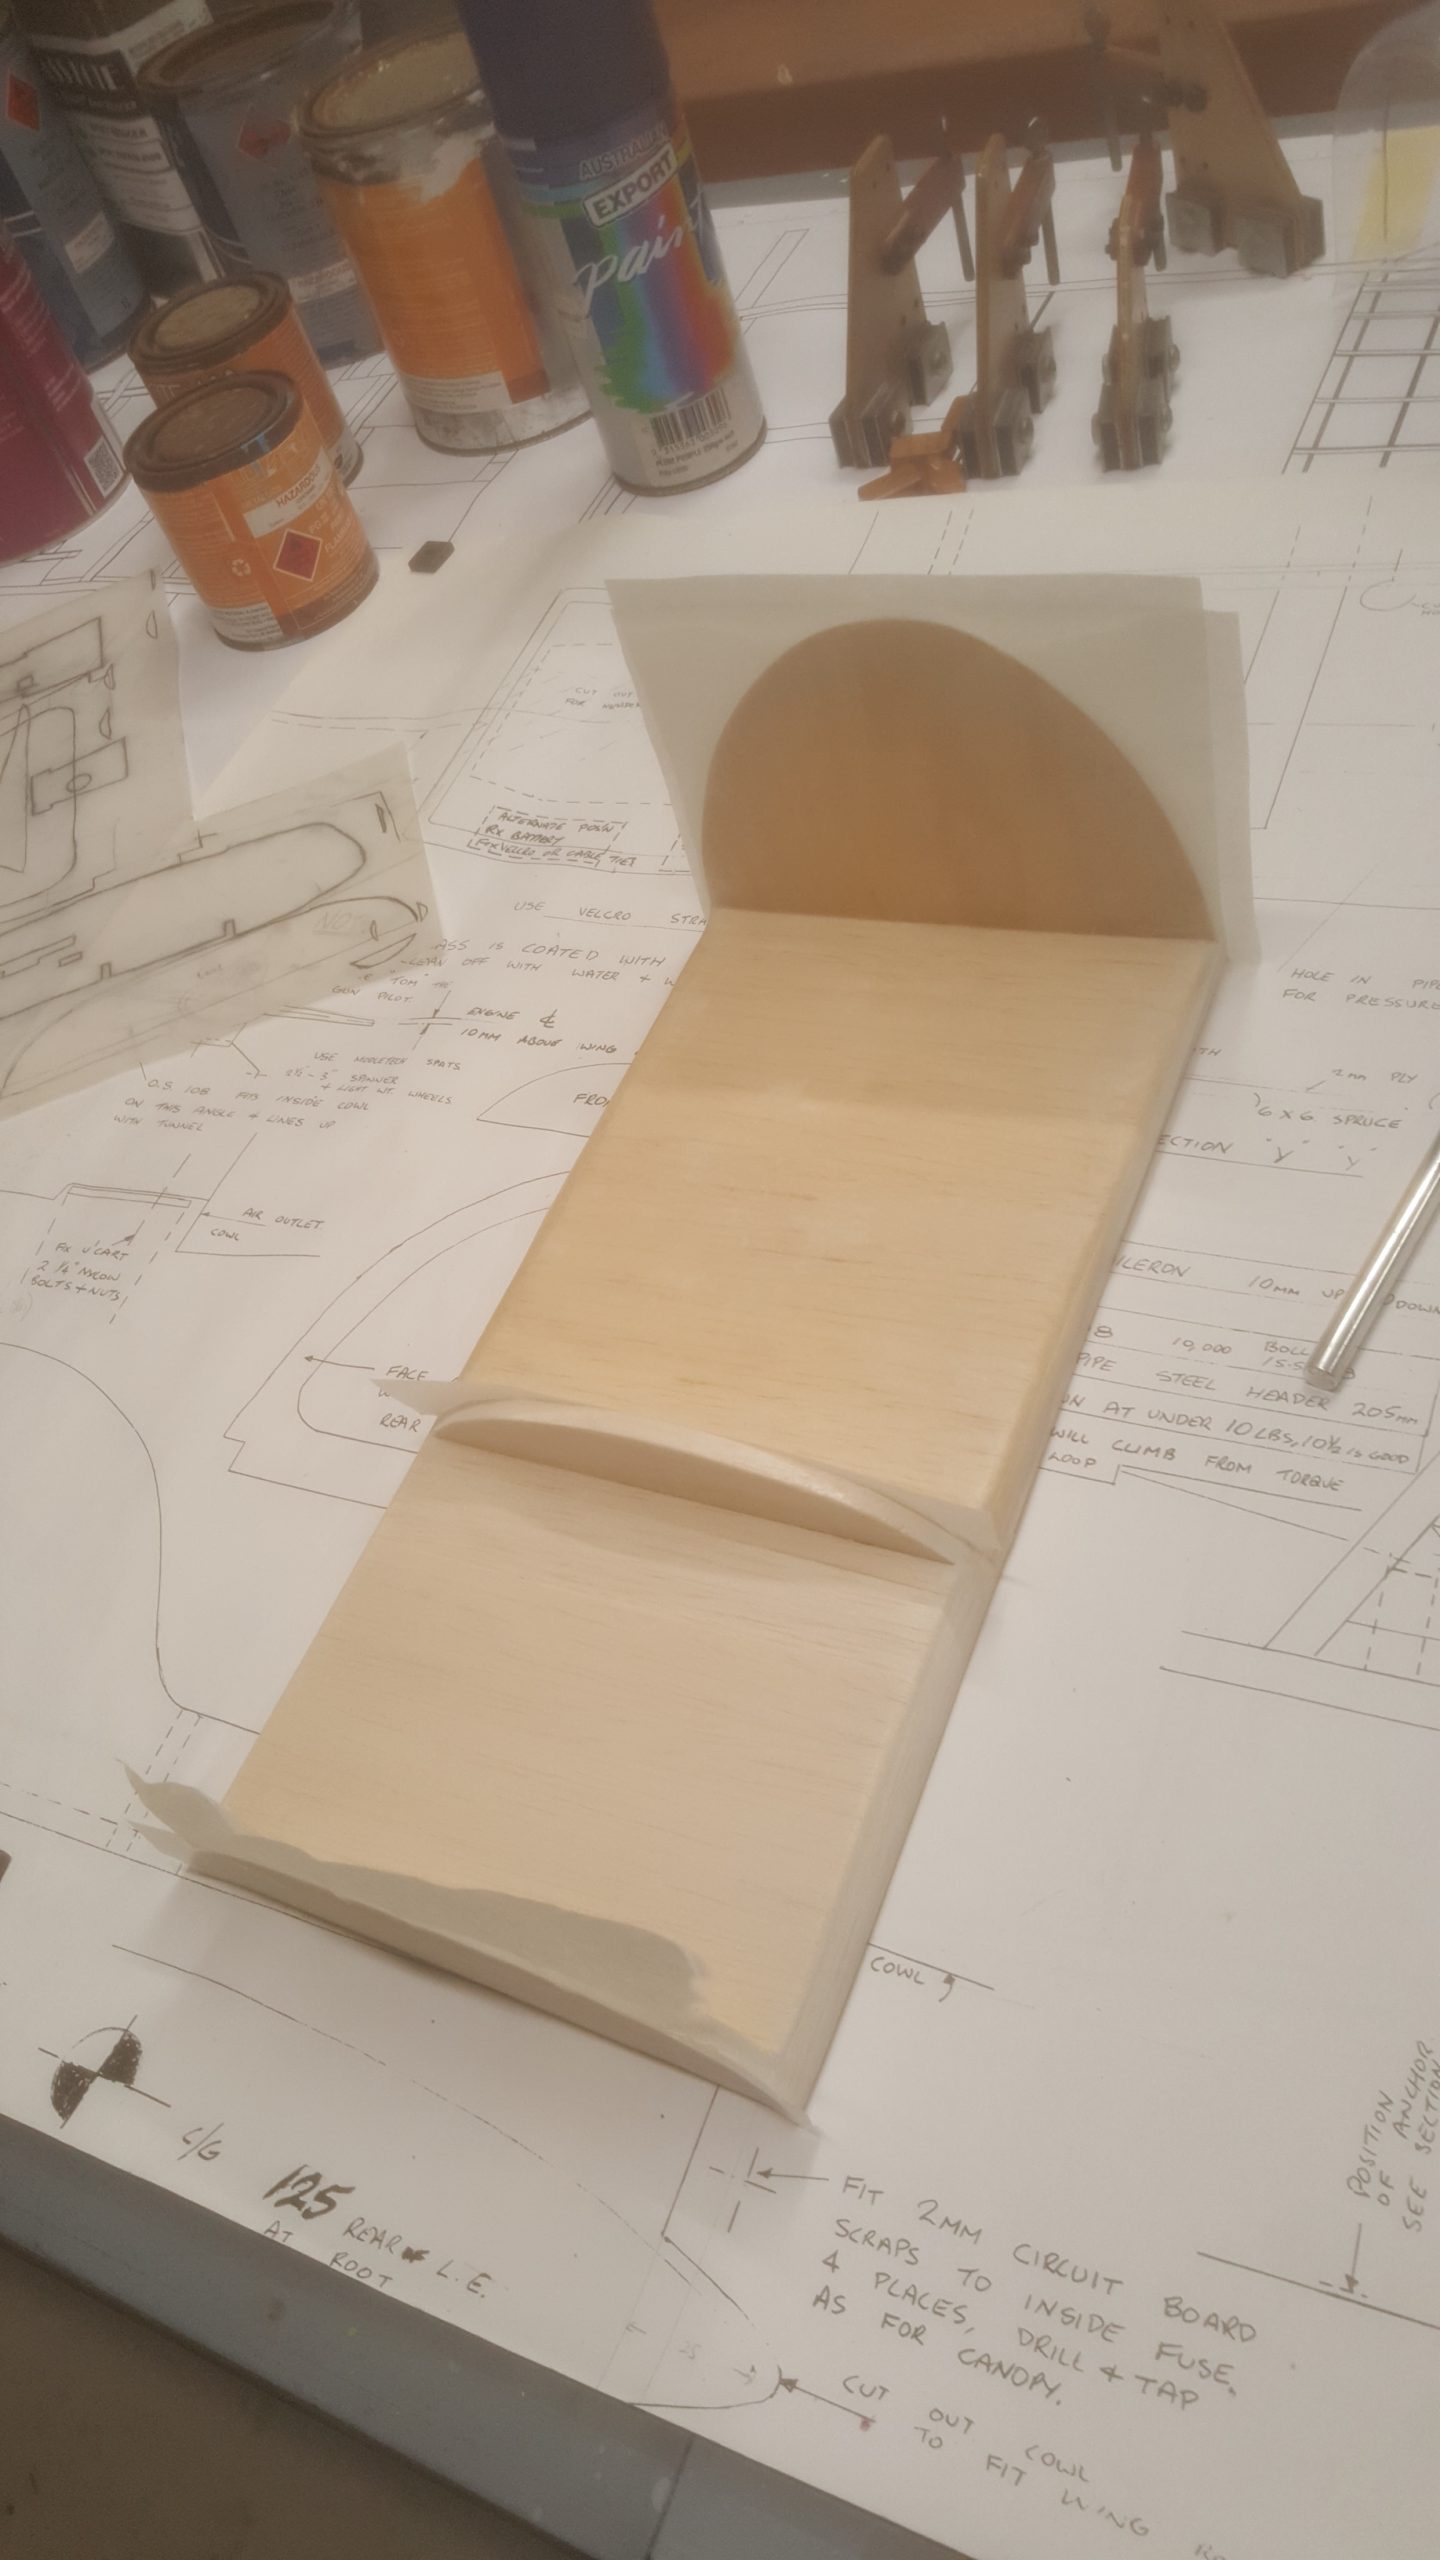
Next up it was time to build the canopy frame. This consisted of three formers attached to a balsa framework. The two front formers are balsa, and the rear is 0.5mm ply on a balsa frame.
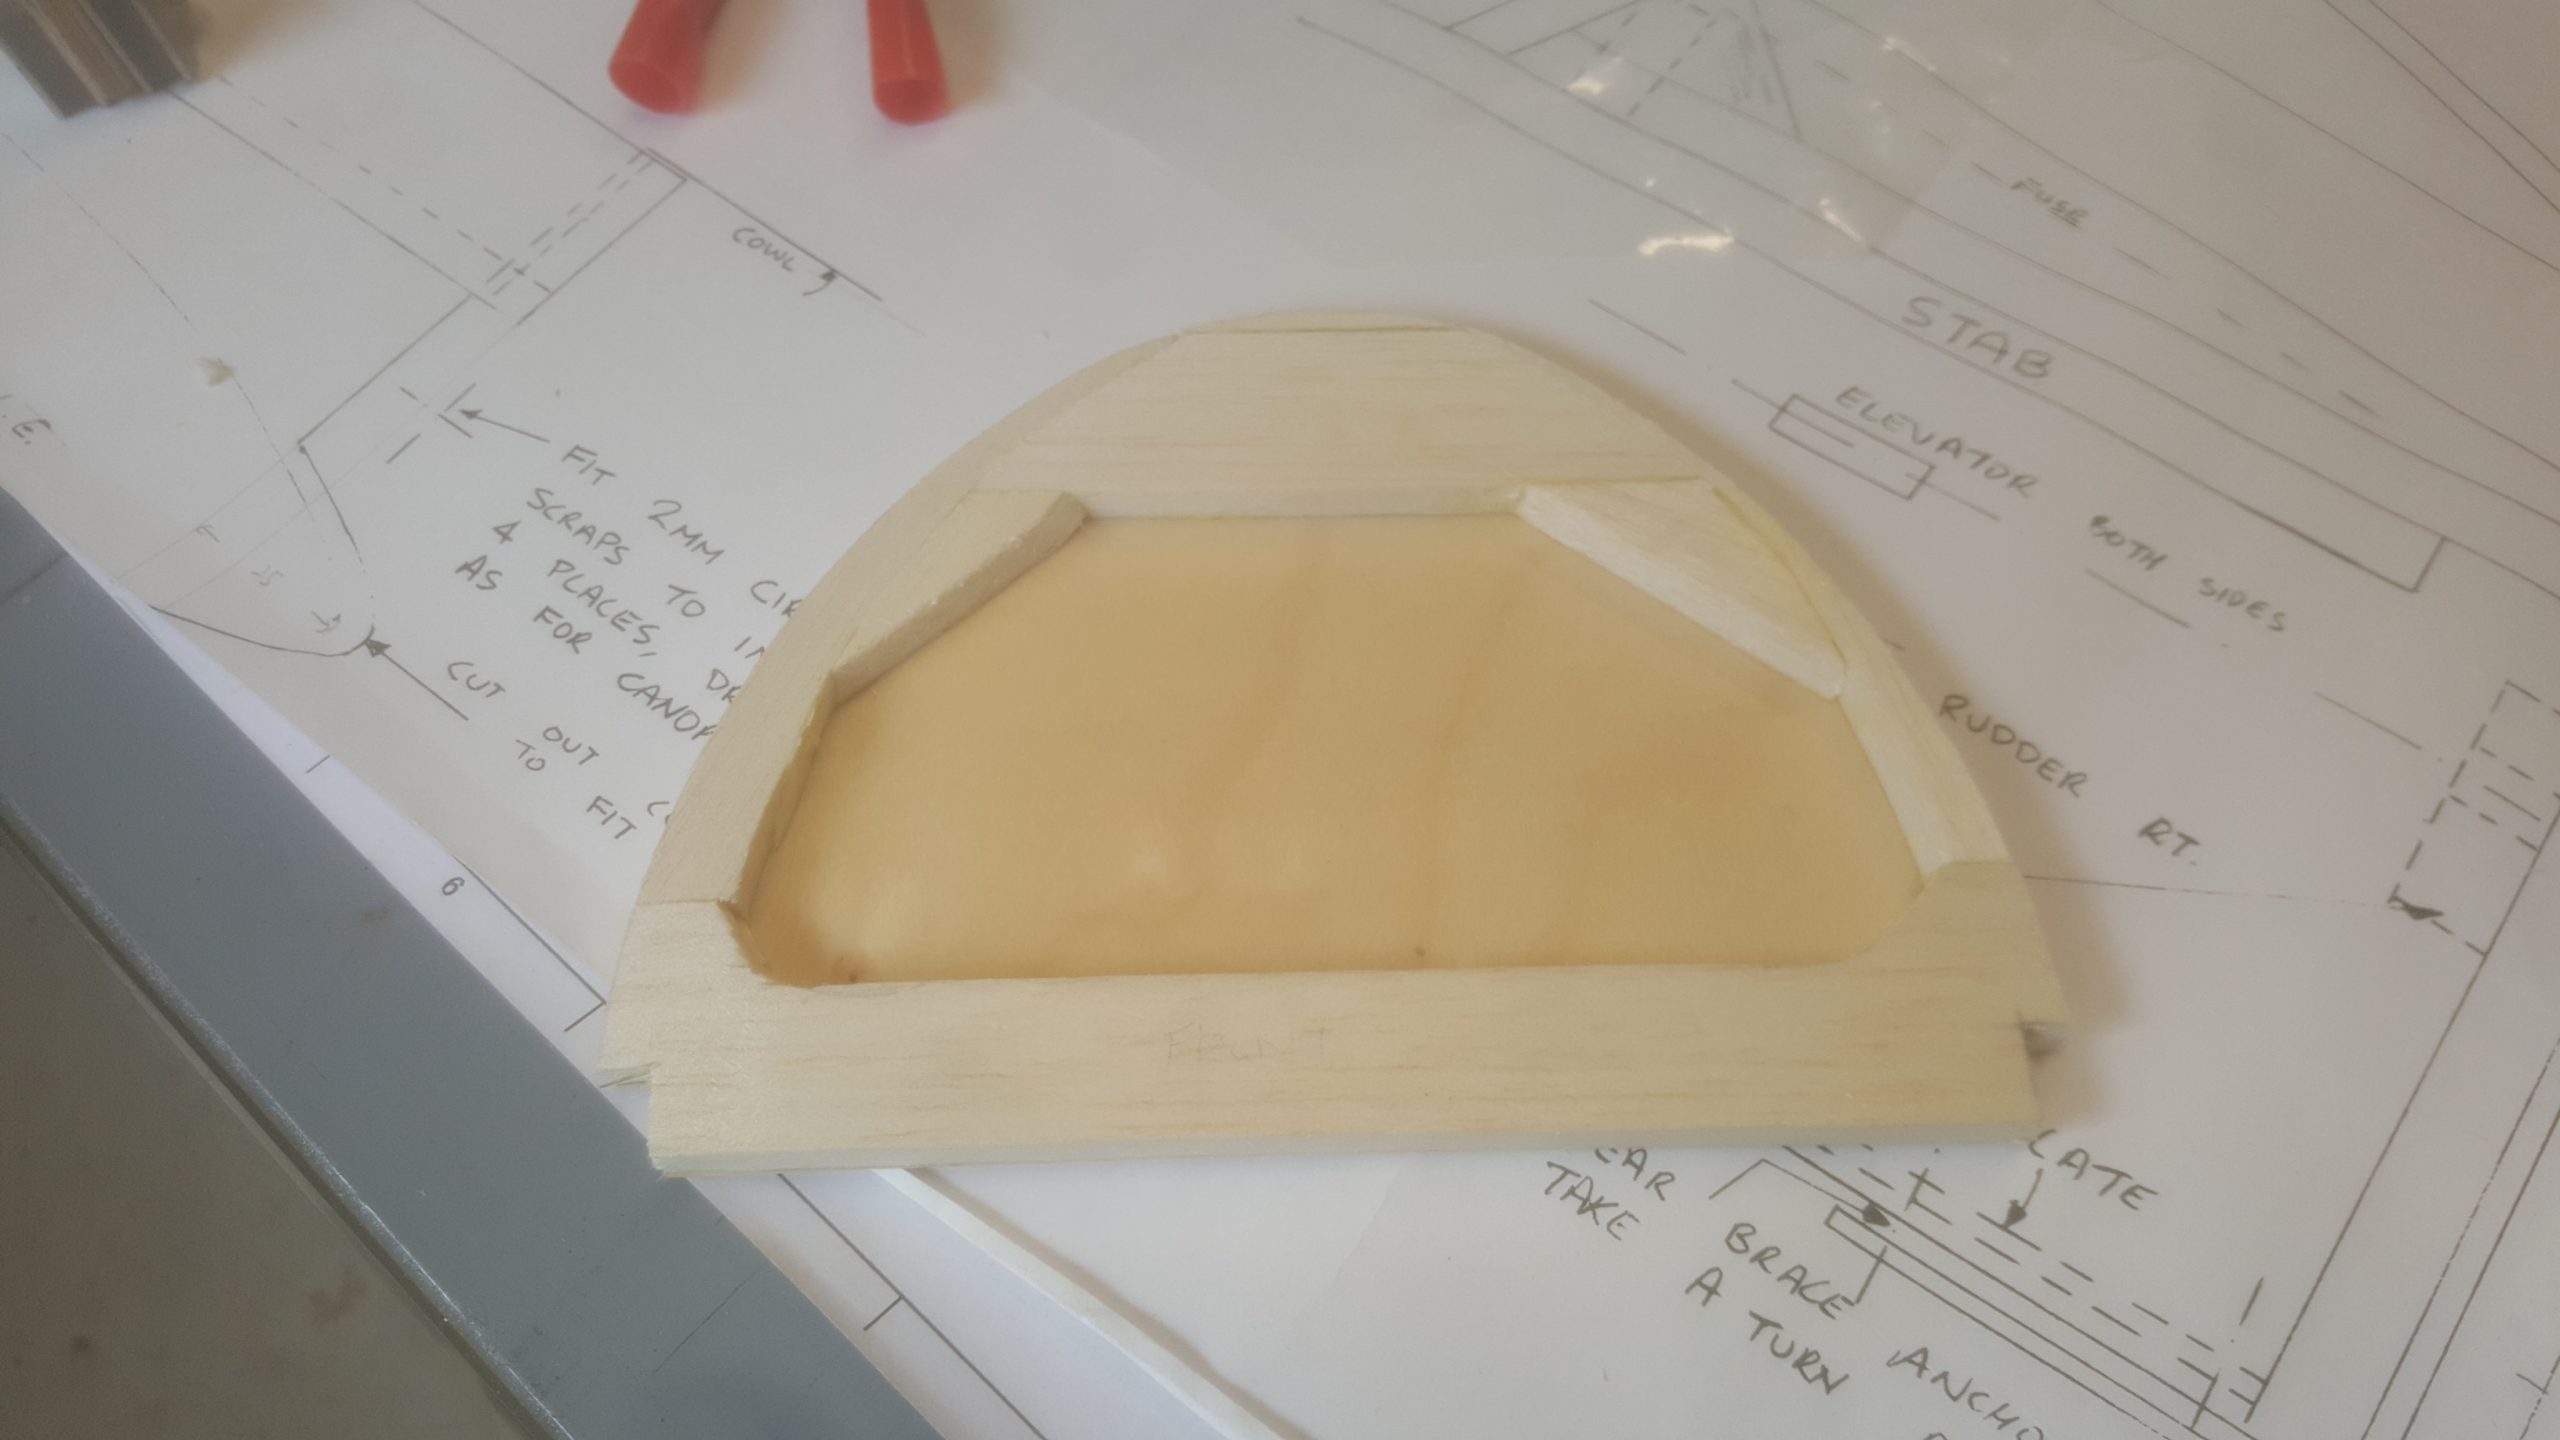
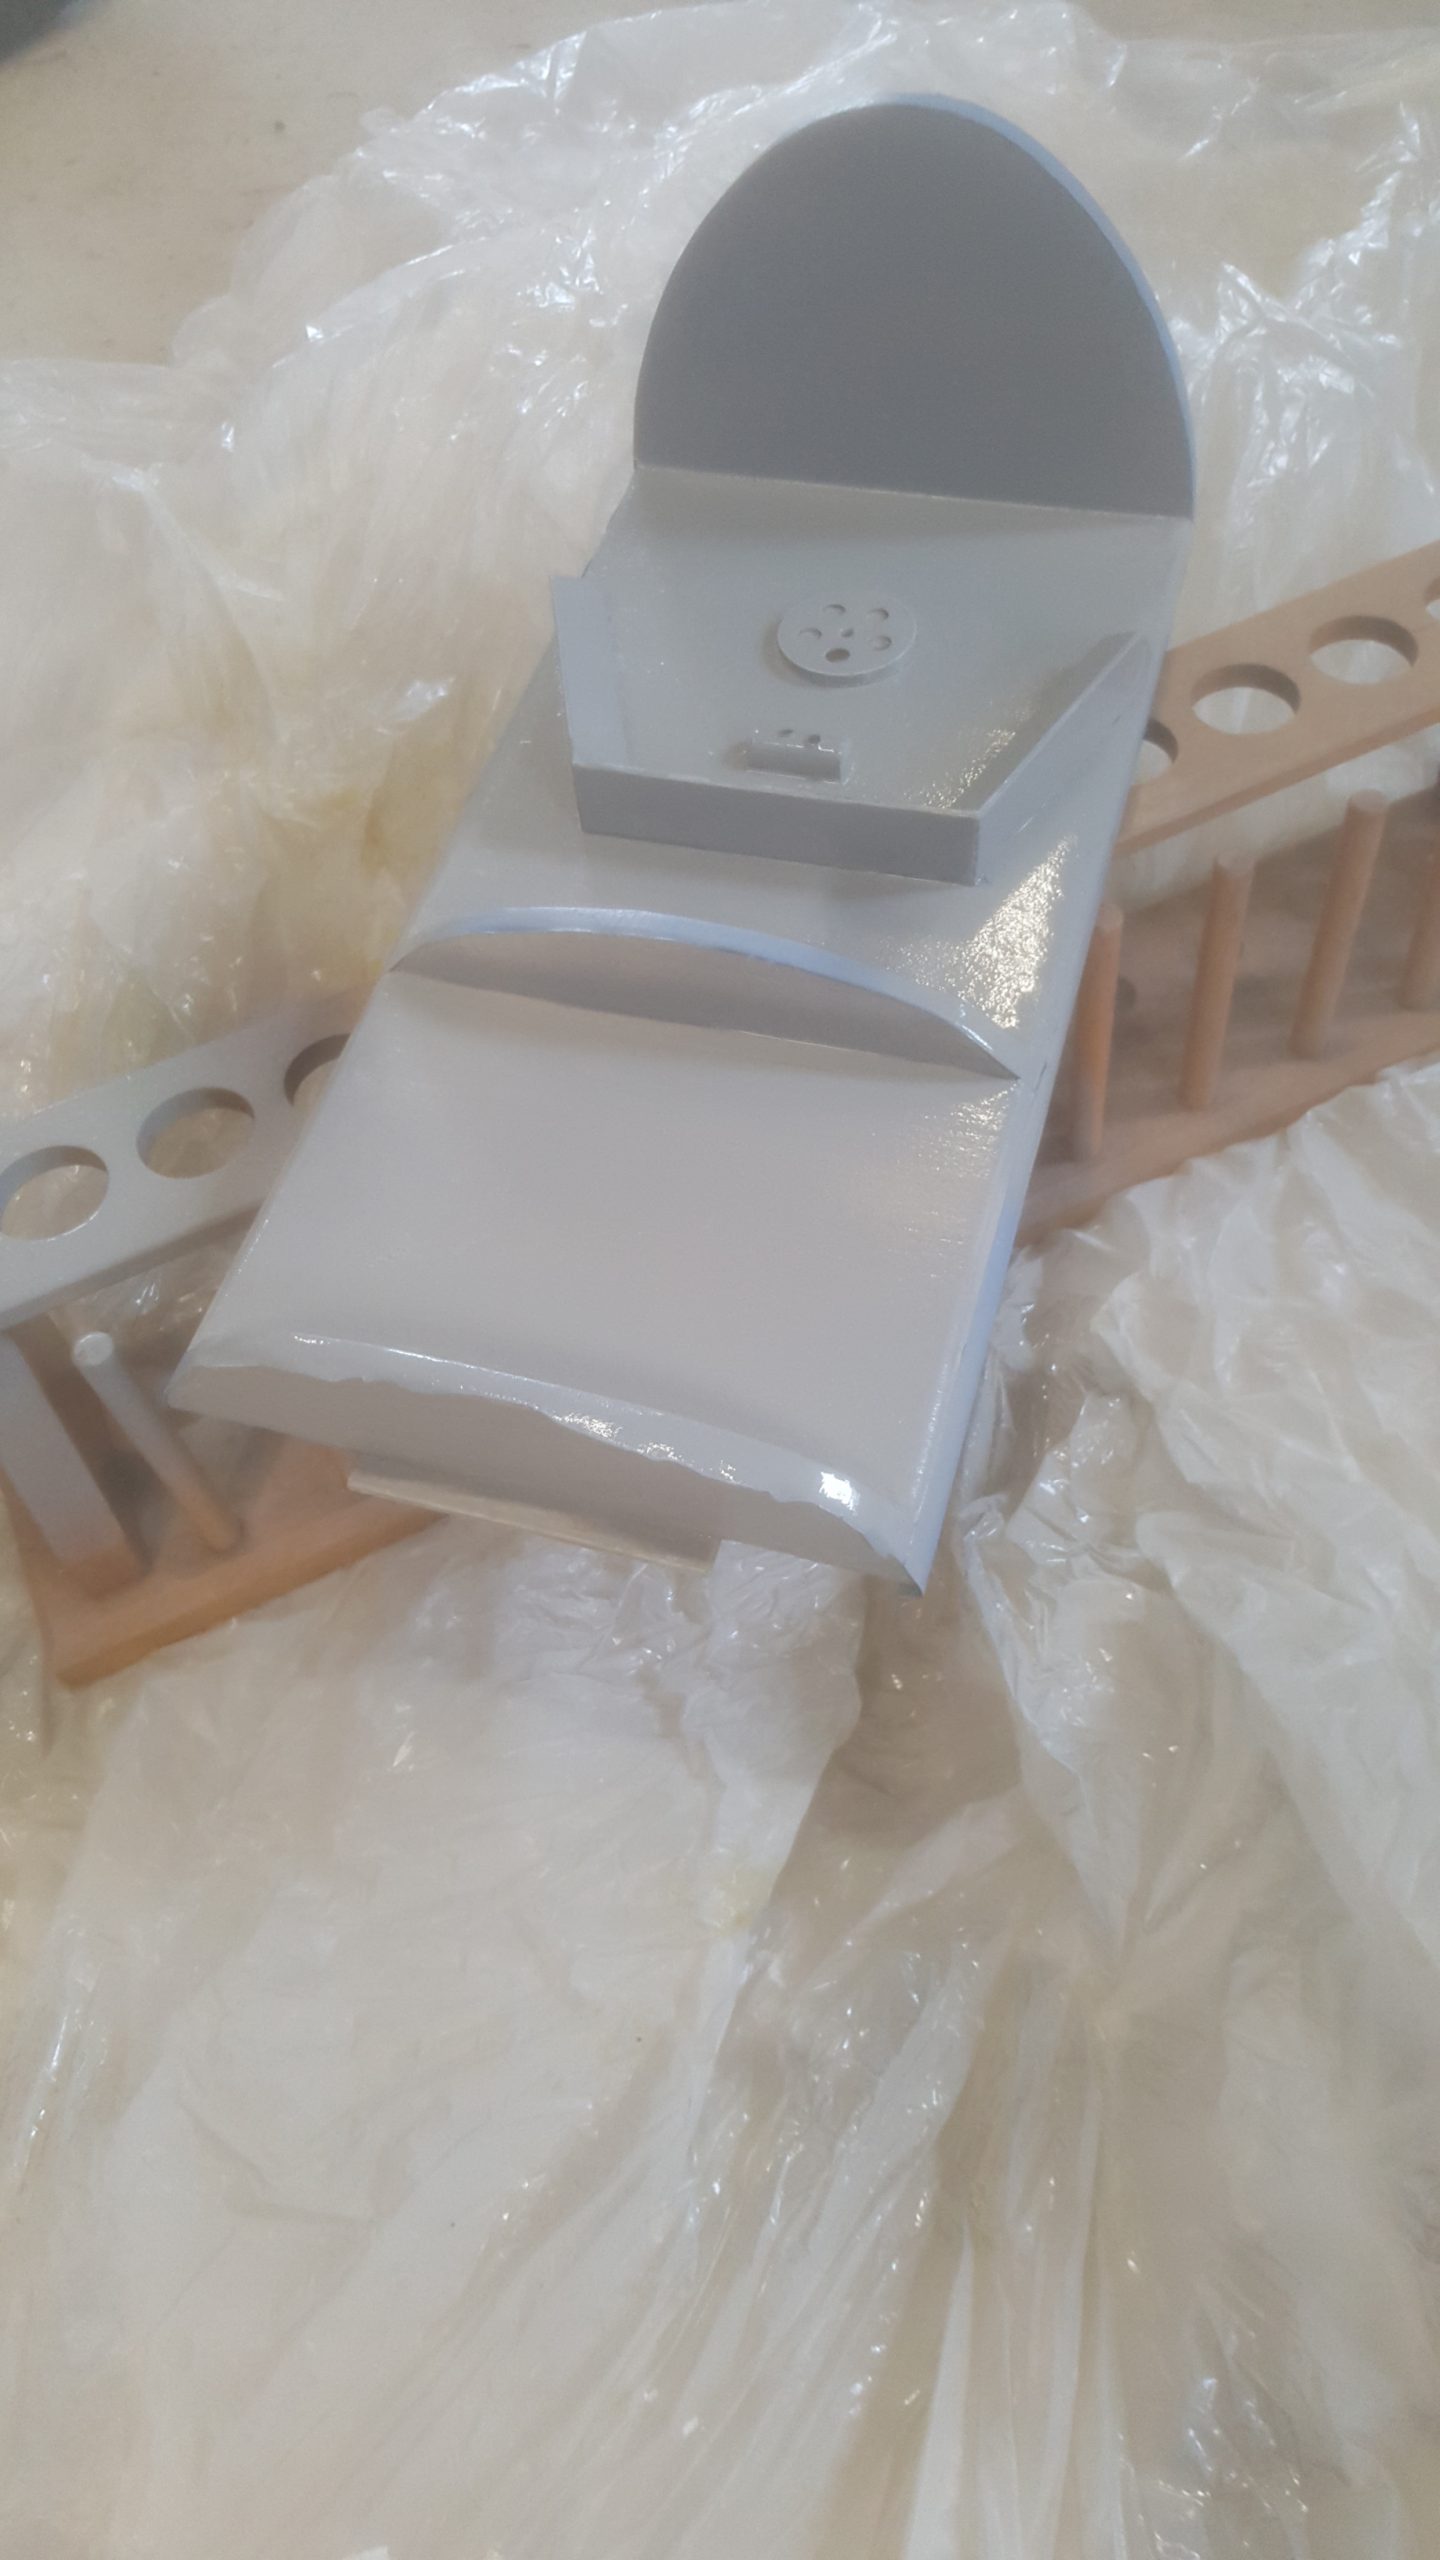
A 1.5mm balsa base was sheeted in, the structure was sanded and then covered in tissue and dope to both seal the wood and make it look more presentable.
Some framing was added underneath to give it strength, and mounting lugs glued in place and tapped for 5mm screws.
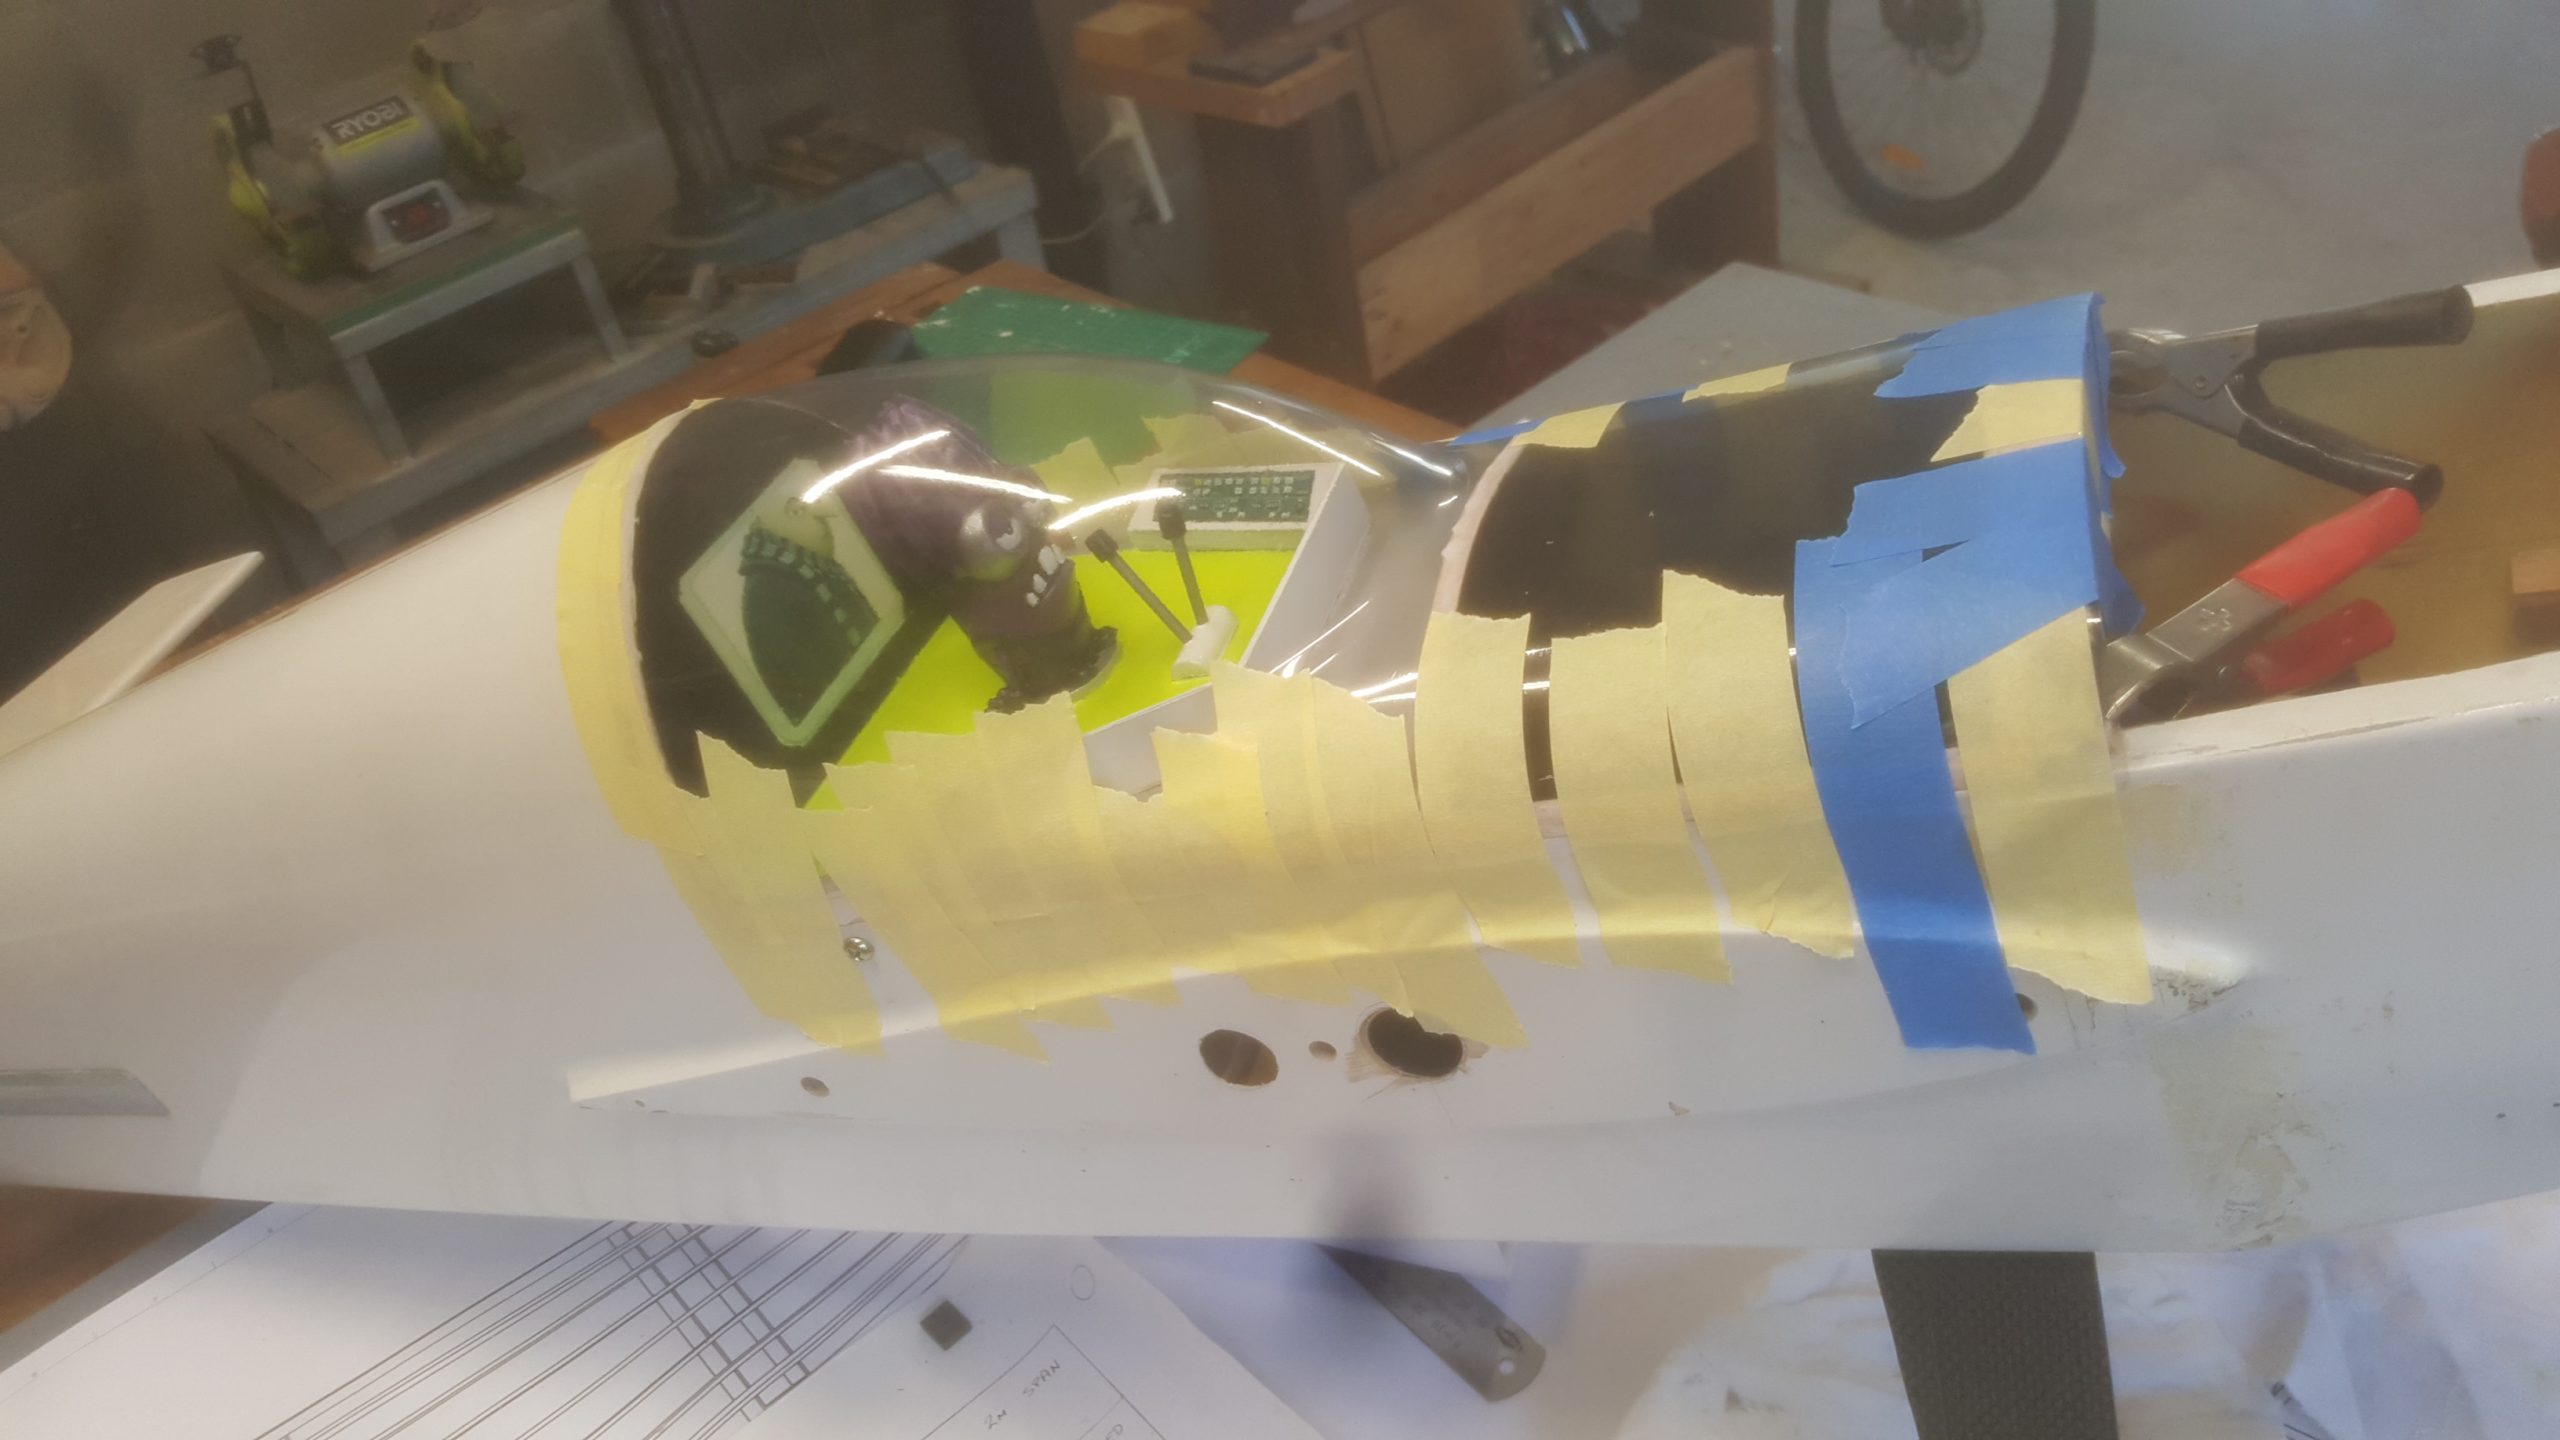
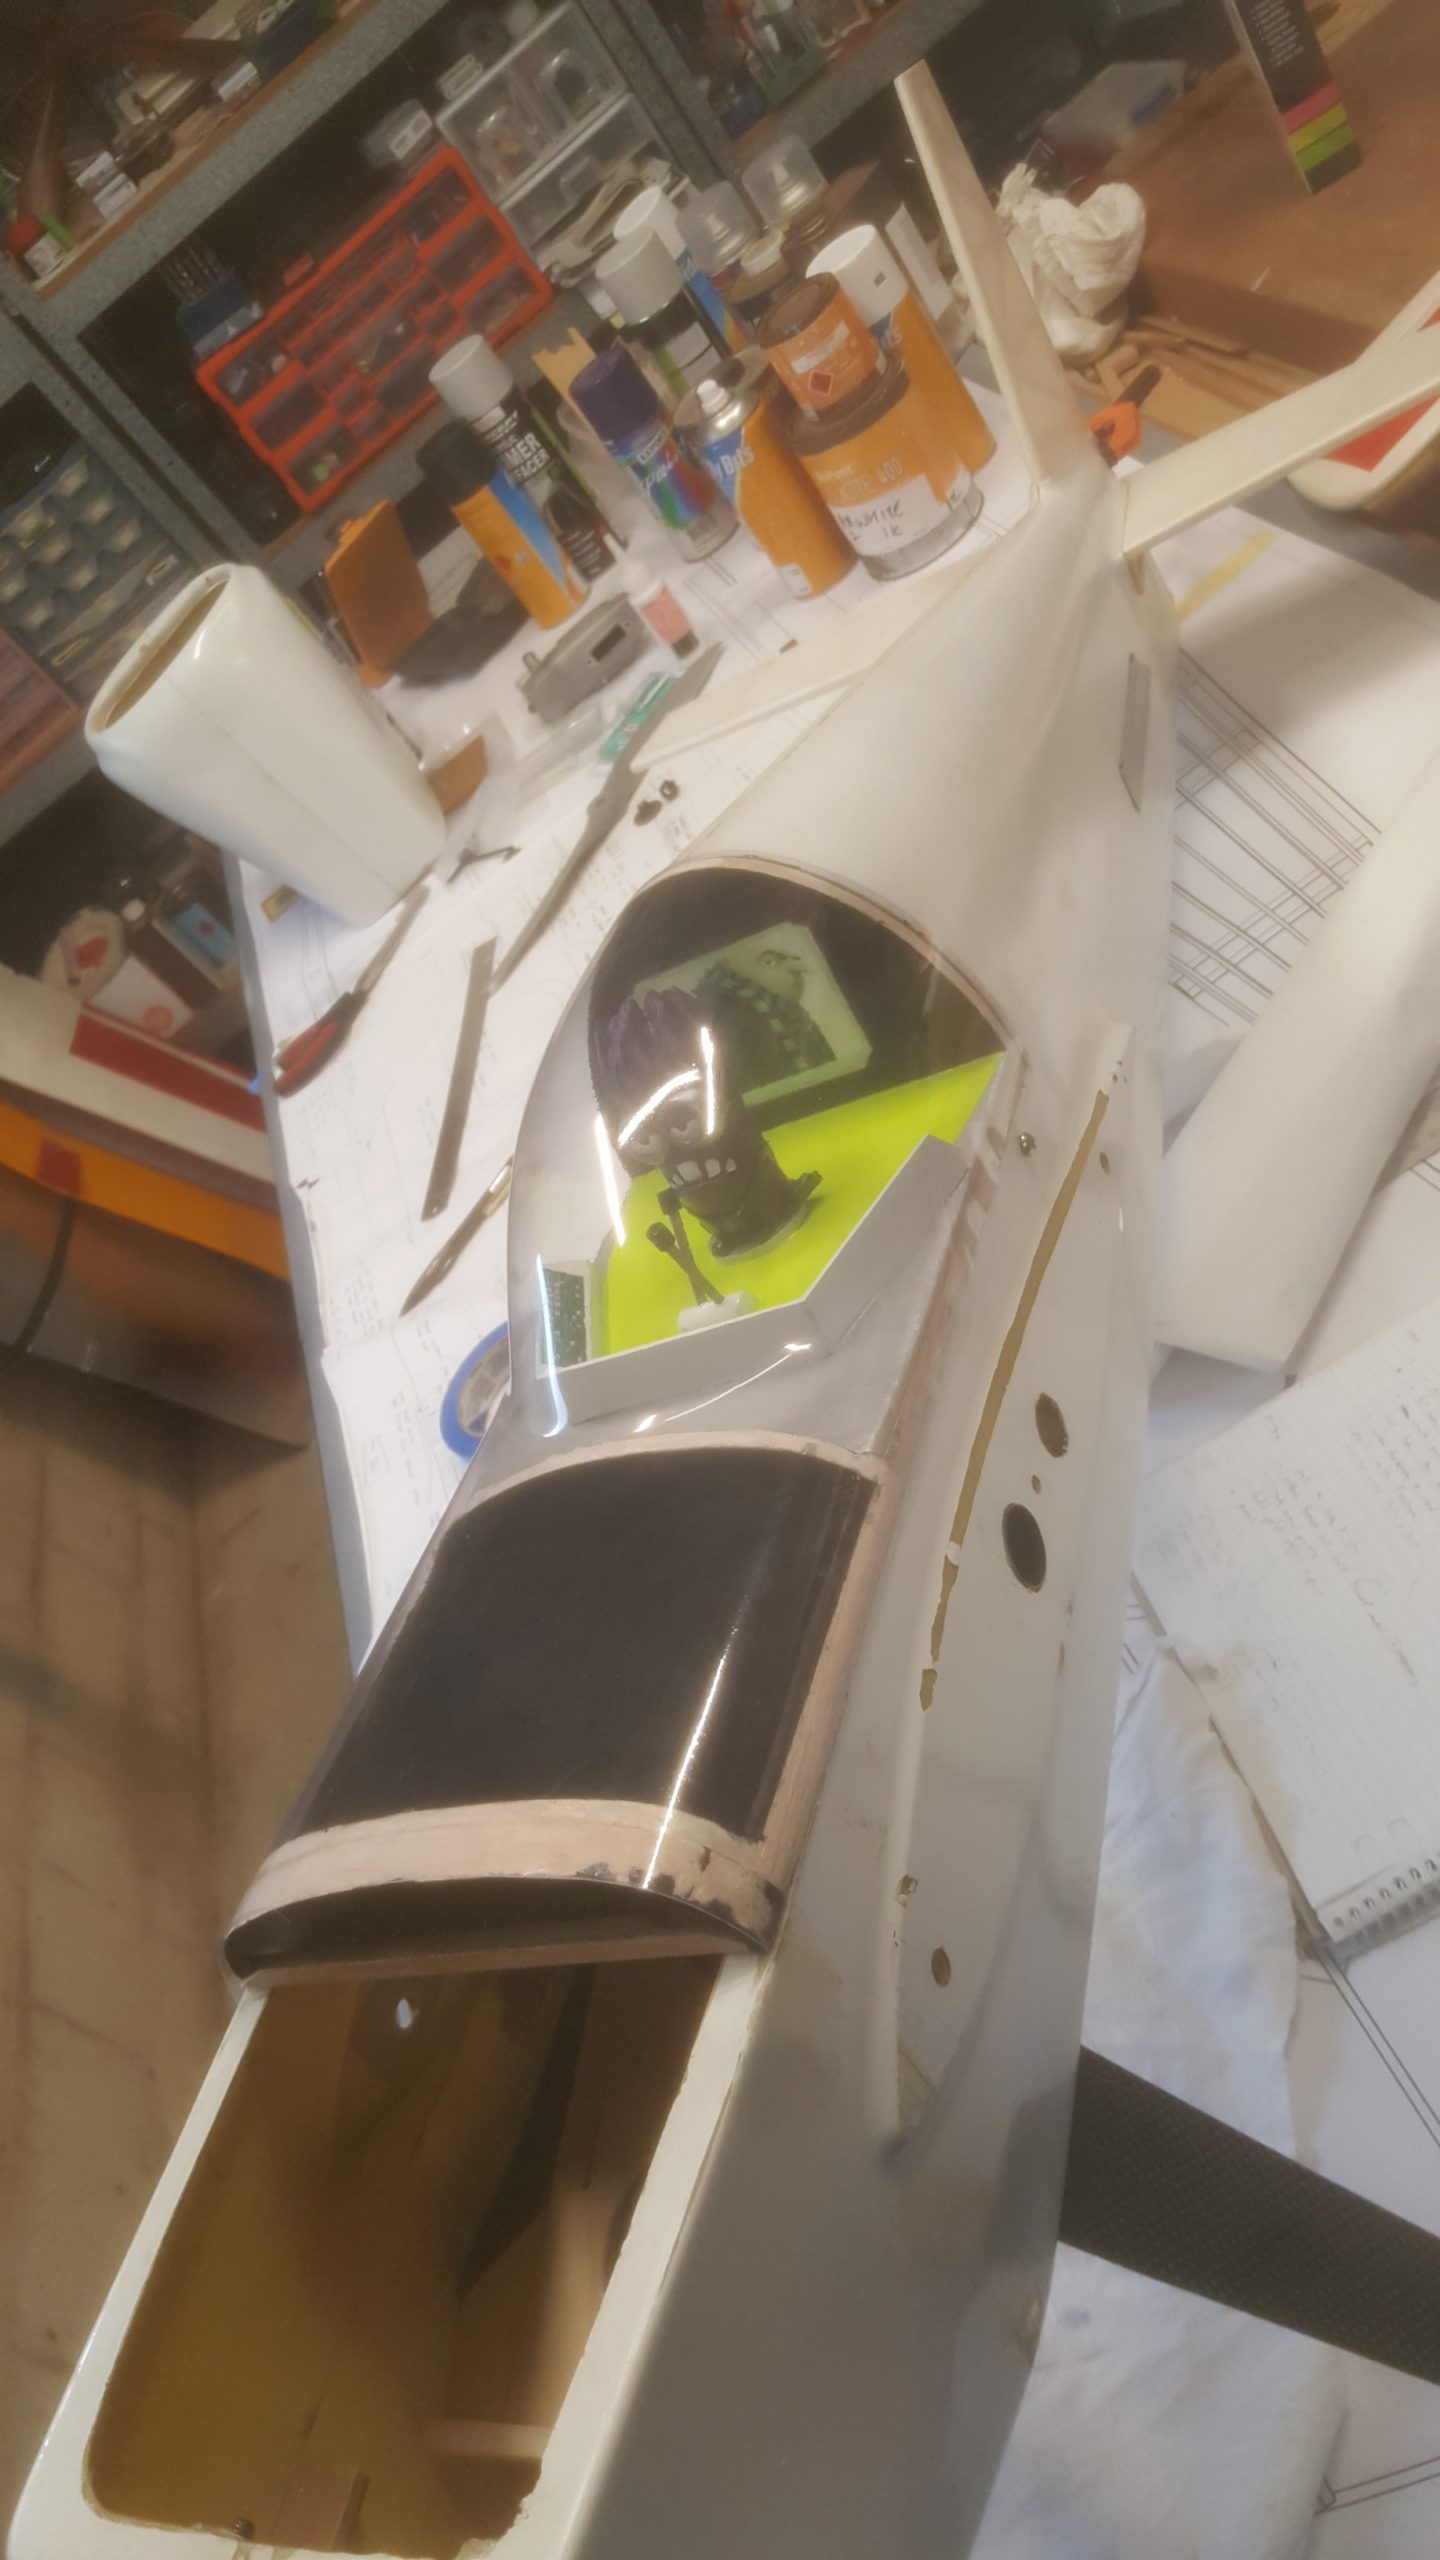
The easy path from this point would be to give the cockpit area a quick spray with paint and move along. But the cockpit is always the focal point of any model – good scale builders will put huge amounts of effort into their cockpits and pilot figures.
So I decided to spruce things up a bit and have a bit of fun. A character from a kid’s movie was downloaded and 3-d printed and painted – the ‘Evil Minion’ from Despicable Me – and a very basic cockpit assembled around it. After assembly it was painted with an undercoat, then colours, and graphics were added with decal-paper prints.
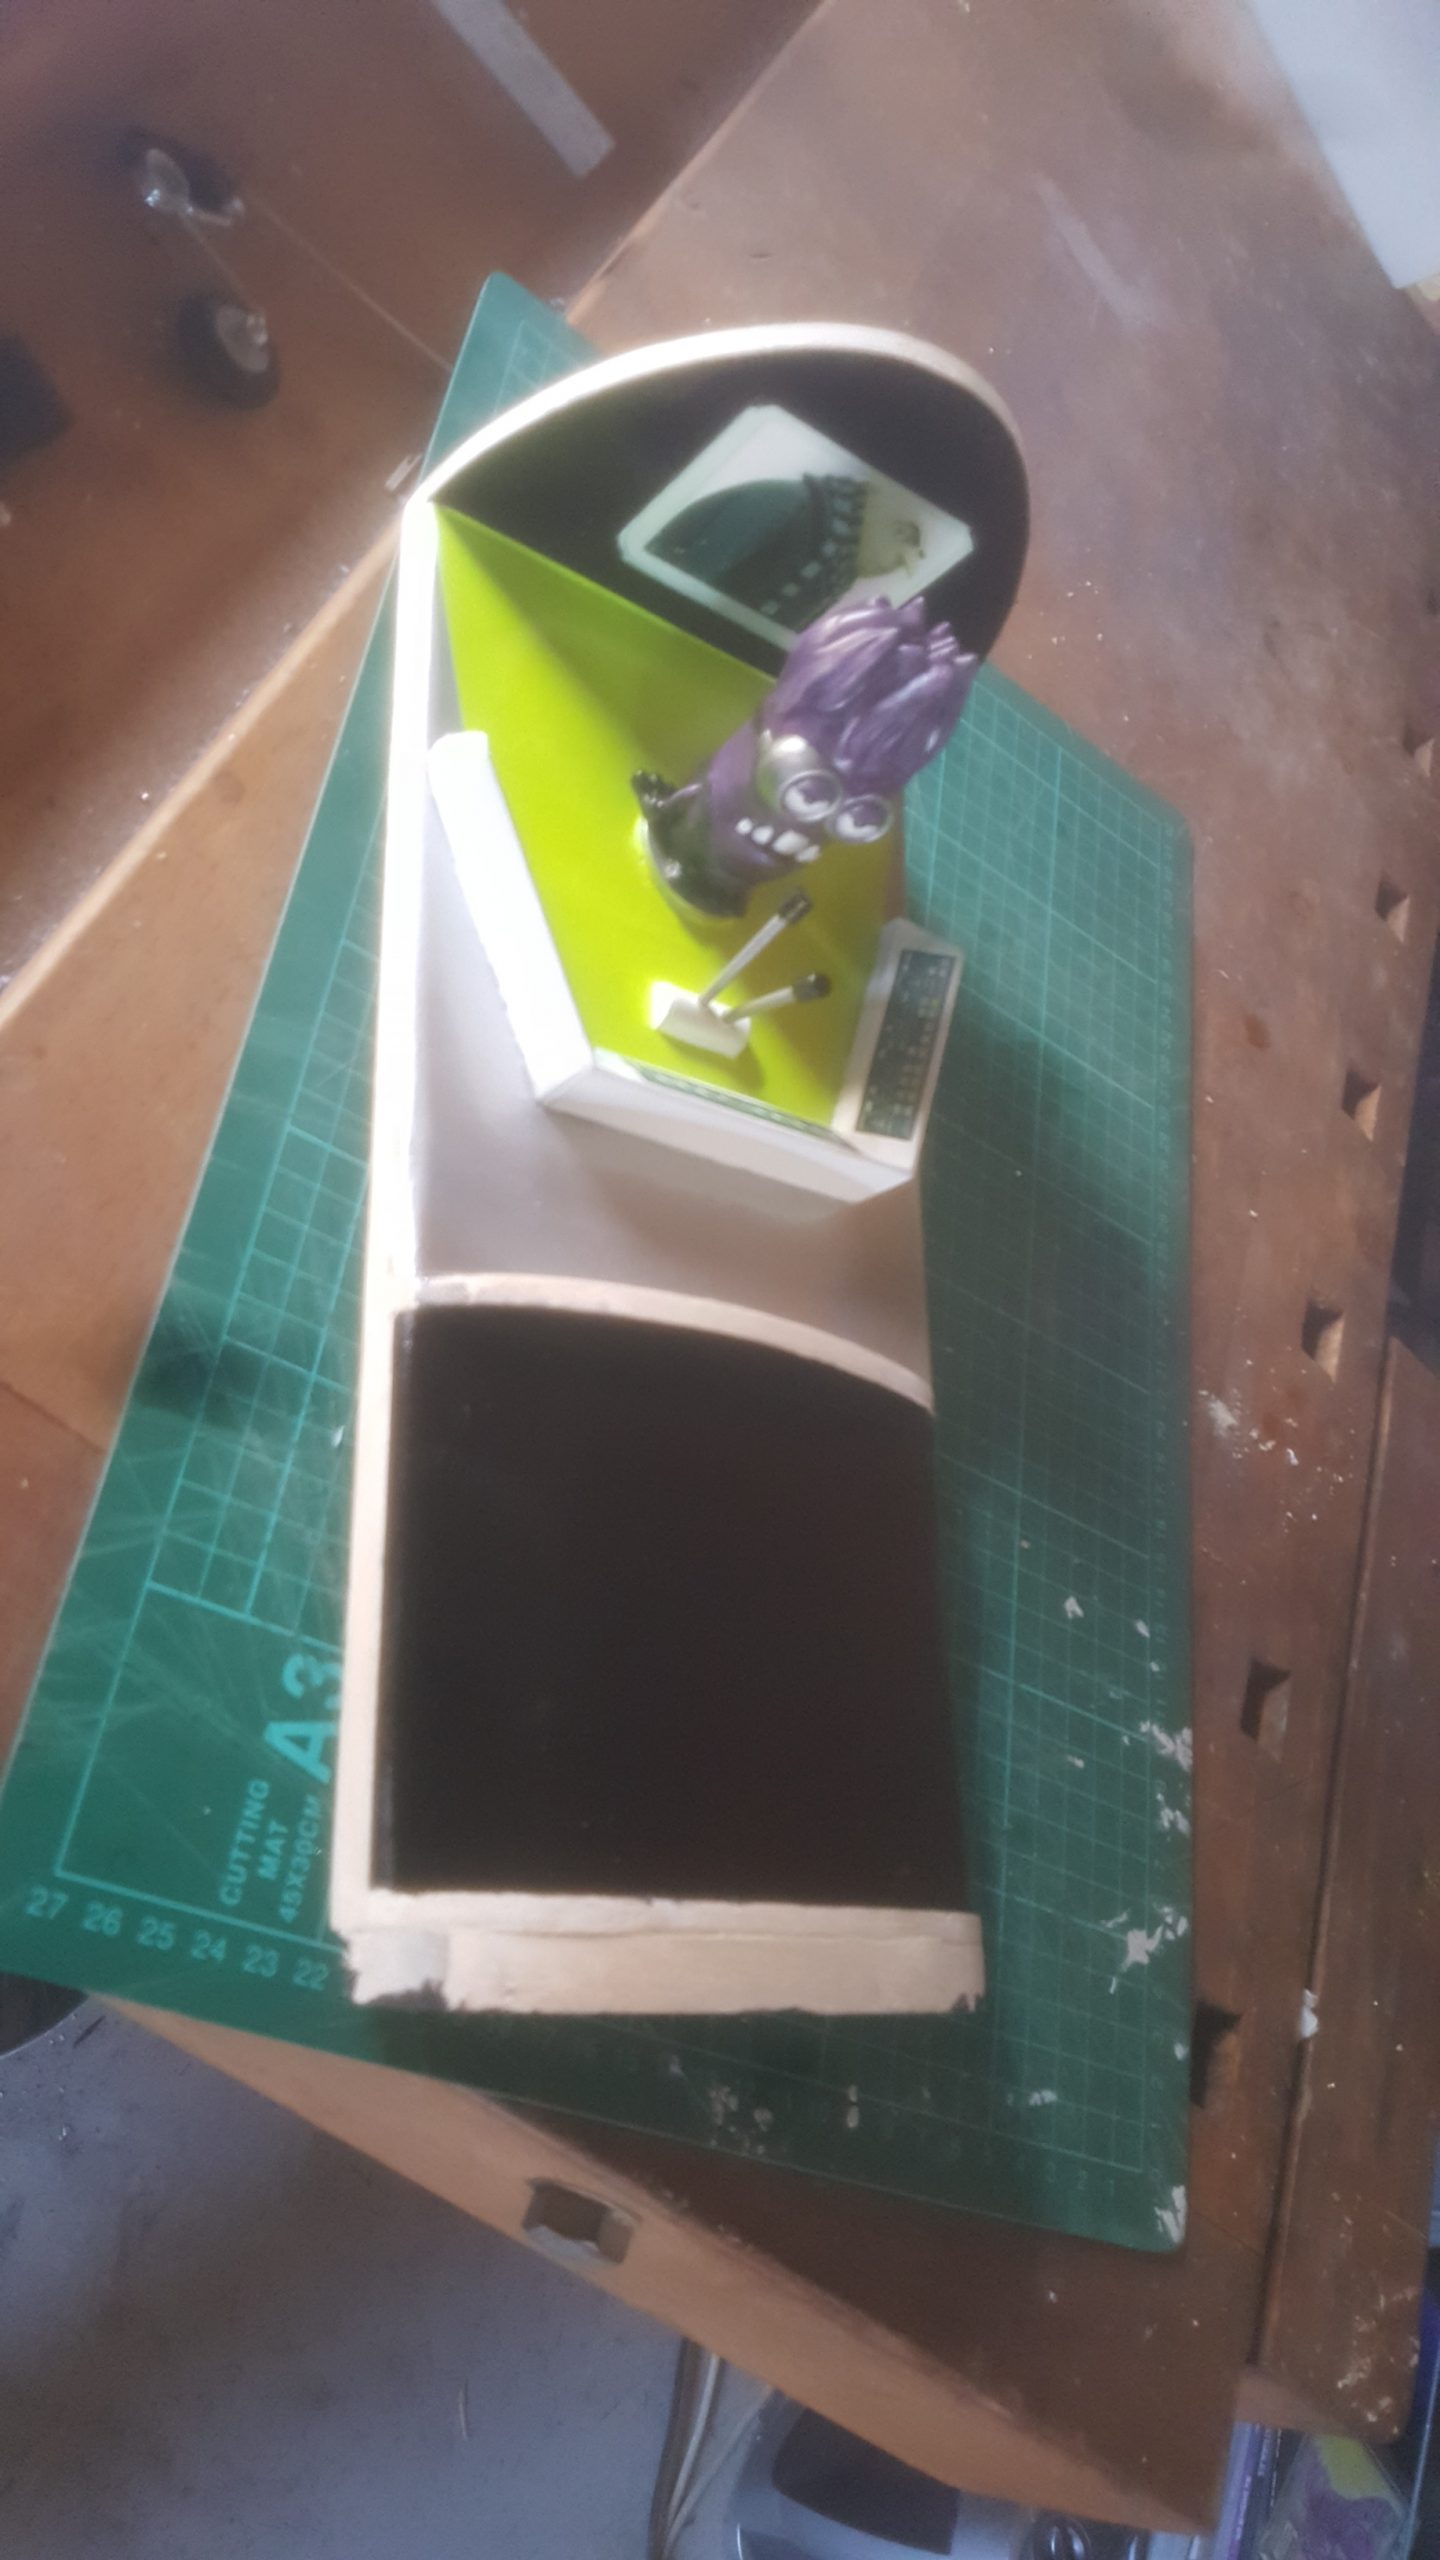
This added considerable time to the project, but it will result in a much more aesthetic product.
With that done the canopy was glued in place and cut to size, very kindly sent to me by the manufacturers of these kits in New Zealand.