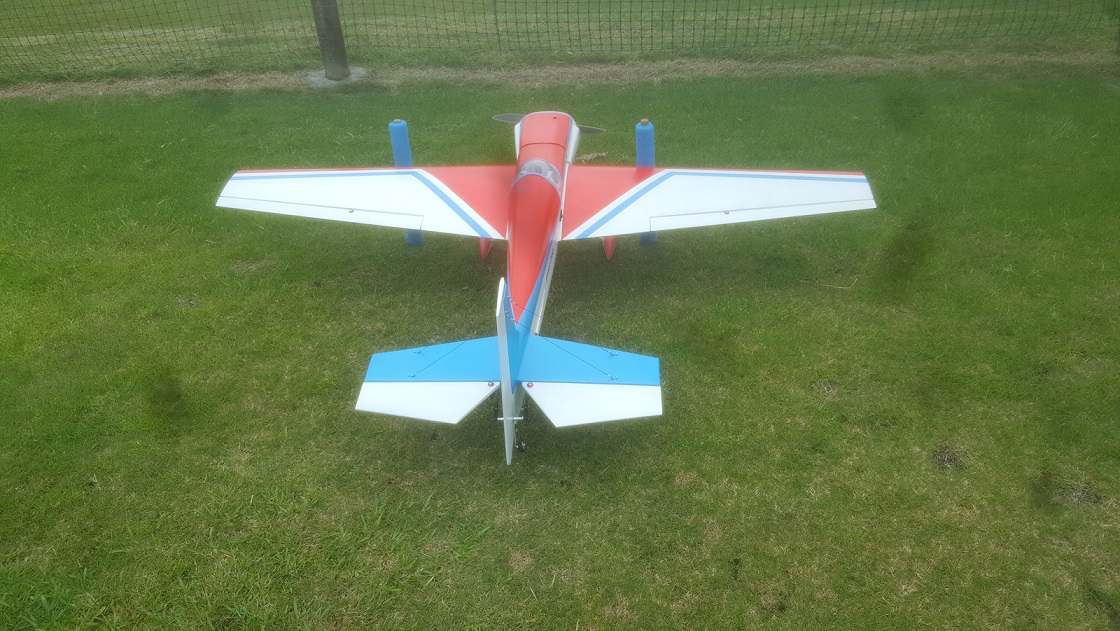
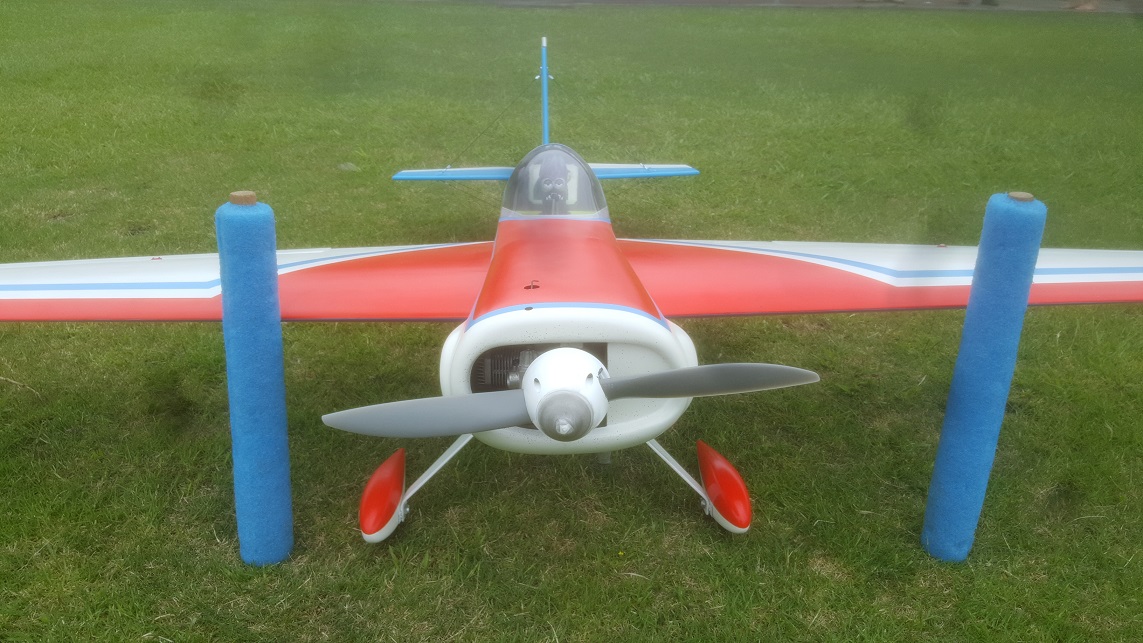
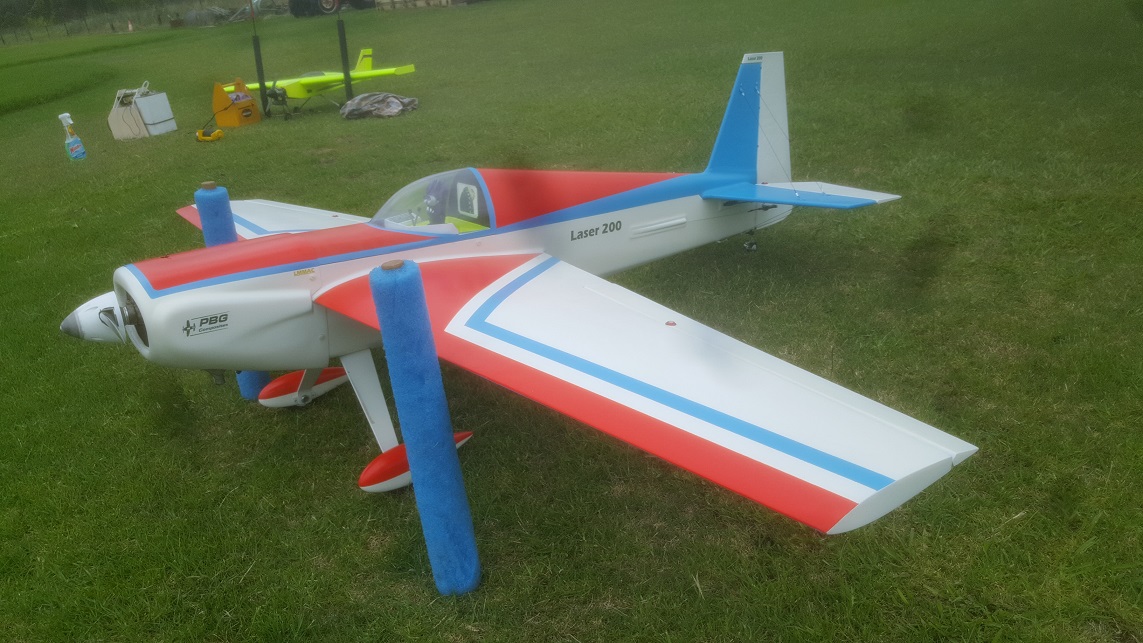
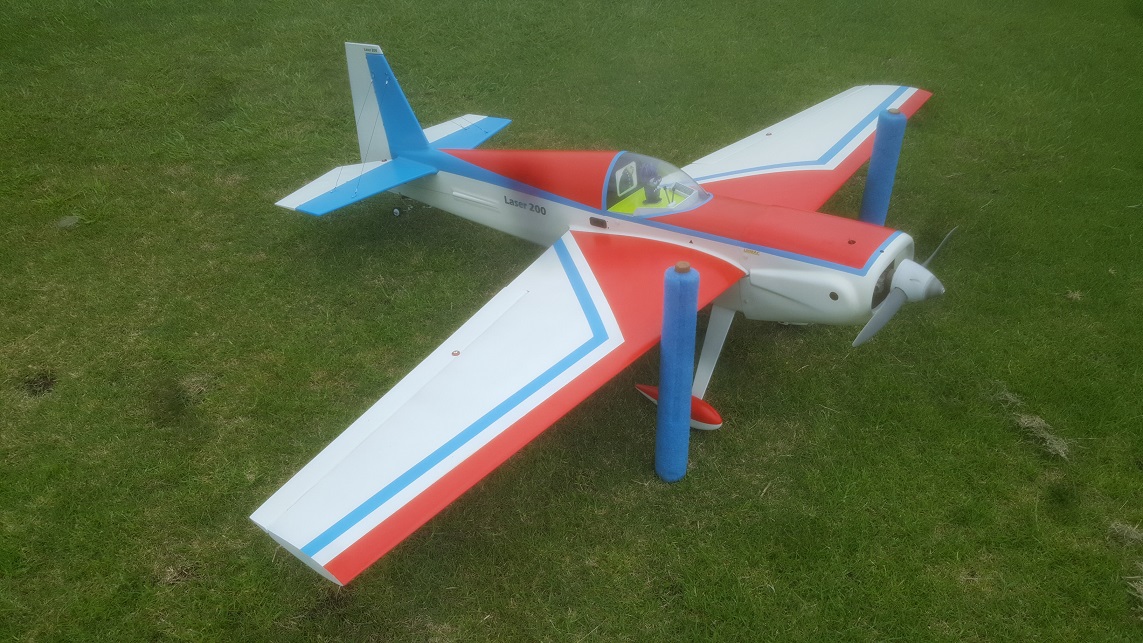
Having cleverly and irrevocably deleted many photos from the phone, some intermediate stages of the build are not recorded, which will require skipping through a large chunk of the final bit of work.
We left off with the canopy, and following that the final installations were completed for the fuel tank and radio gear, undercarriage and wheel pants. Mounting points were fabricated for the canopy, cowling and radio switch, and cut-outs were made in the canopy for a glow stick, engine tuning and muffler clearance.
A bit of thought went in to air flow for the engine cooling, and a balsa/fibreglass baffle was glued into the front of the cowl to direct all the incoming air over the engine.
A final check was completed to make sure that everything fitted together and worked properly. Theoretically at this point, the model was ready to fly, pending weight balancing.
A couple of weeks were spent filling and rubbing down all the parts, especially the fuselage and cowl, fixing the dings and so forth for what was quite a weather beaten shell, thanks to its having passed through many hands over the years. This was achieved mainly with car body filler and high lift automotive primer, and a lot of sandpaper. Once it was ready, everything was sprayed with normal primer to provide an even base coat.
A coat of white automotive 1k acrylic paint was then sprayed on to everything. I always use this type of paint for models as it is so easy to get a good result out of the spray gun, and the colour depth is excellent. It’s thinners based, but I use a decent mask and gloves so that’s not a problem (yes, I actually use a mask for the purpose it was intended!).
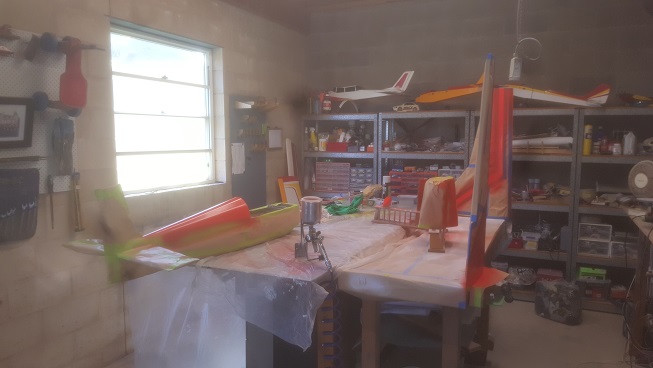
After the white came the masking and additional colour coats. The pic below shows the model masked up and parts setup on makeshift painting mounts for the orange. Spray painting doesn’t have to be done in a special booth, as long as you wipe everything down with a tack cloth before spraying and have a bit of ventilation. Automotive paint flashes off very quickly, so airborne dust isn’t a problem for this standard of painting.
Finally, a 2k epoxy clear coat (basically an automotive two-pack) was sprayed over the top to provide strength and depth, and to fuel-proof the paint.
There are only three jobs left to do after that. Reassemble the model, balance it, and test fly it!
Balancing was done with a home -made Vanessa C-G Rig. It is necessary to achieve a centre-of-gravity at between 25 – 30% of the mean wing chord for flight stability. The pic below shows the model hanging in the Vanessa rig, which simply uses a plumb bob to determine the centre of gravity location, with the ropes adjusted so that the model is in its correct flying attitude (determined using a bubble level). If the plumb is too far to the rear (which is usual for a new model), weight must be added to the nose.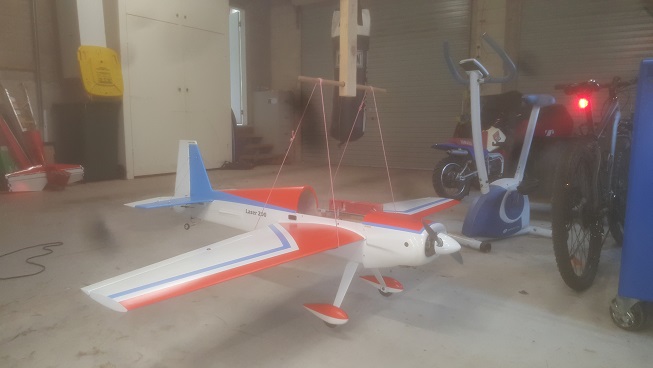
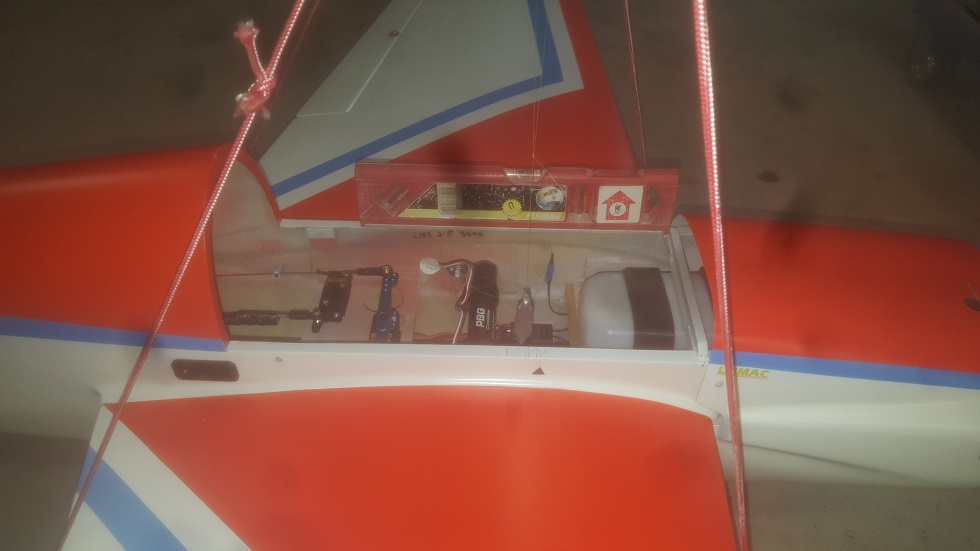
The close-up below shows the bubble level and the plumb dangling to the rear of my CoG arrow marker. This meant adding weight to the nose, and sadly a lot more than I would have liked. But a heavy model is preferable to an unstable one, although this is a good reminder to always build the tail light! (which I thought I had….)
With that done, the engine was test run at the flying field. It turned out that a new piston ring was required, but once that was fitted the OS 120AX ran nicely.
Finally the weather cleared just enough for a test flight on a much shortened, very wet runway.
Test flights are fraught, but are the culmination of many hours of work, and are what building your own model is really all about. To maiden an aeroplane you’ve just built is very satisfying.
Success! The model flew nicely with minimal trim required, and was easy to land. (We won’t talk about the incident when it disappeared momentarily behind the trees…) Now, hopefully, I can look forward to many hours of flying fun.
